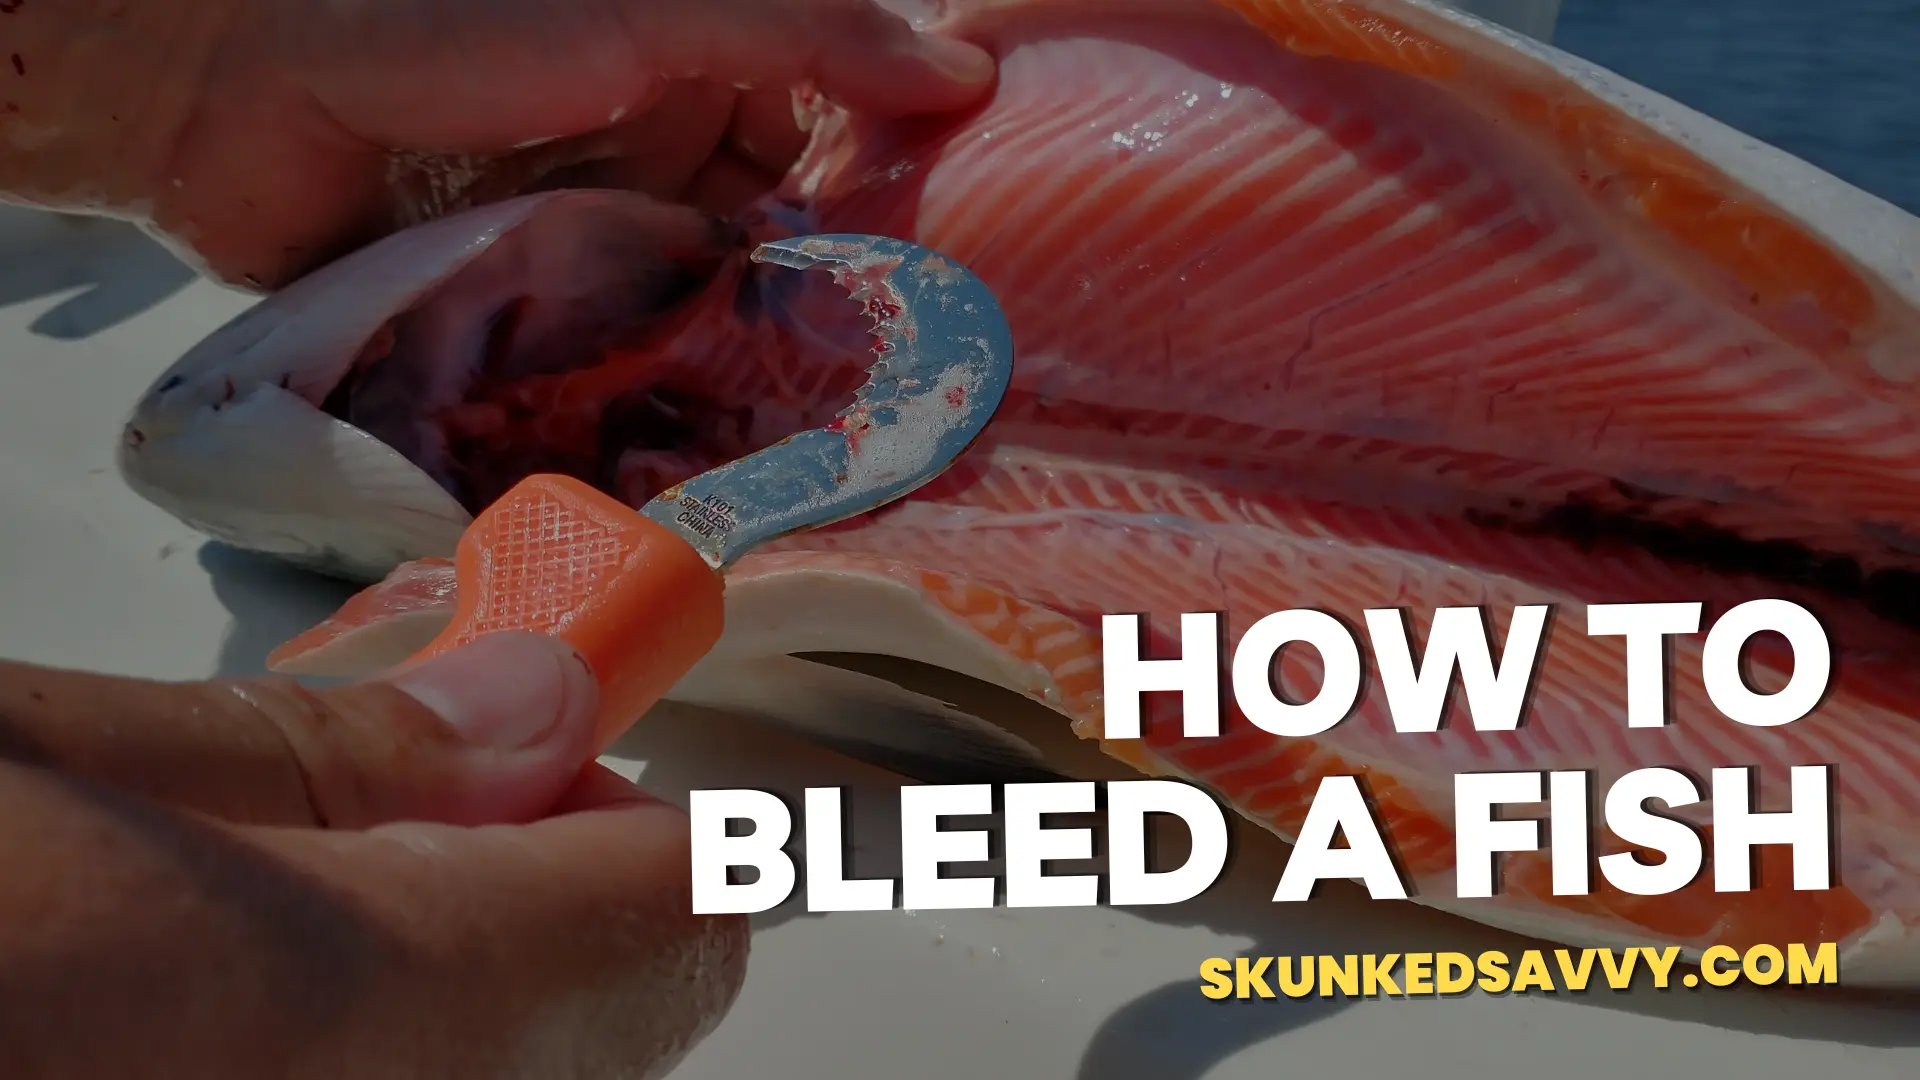
How to Bleed a Fish? The Fisherman’s Way
Important
Fish can spoil easily whether you catch them in freshwater or saltwater. Therefore, you must handle them properly to enjoy their subtle flavor and pleasing aroma.
If you want to make your fish taste even better and remove that metallic, fishy taste, then you must bleed your fish. Moreover, bleeding not only removes the fishy stench but also leads to cleaner and easier filleting of your catch without creating all that bloody mess.
I will show you simple steps on how you can effortlessly bleed the fish and explain the importance of it. Therefore, keep reading to enlighten yourself.
Understanding the Significance of Bleeding a Fish
Bleeding a fish is a straightforward and simple process that will only take a few minutes. It is an additional step in the fish-handling process that numerous number of people have recently adopted. Let me tell you the reason why you need to bleed fish and what it means:
What does bleeding a fish mean? Bleeding a fish refers to the process of removing the blood from the fish as soon as you catch them.
Pro Tip
This is the most effective step if you want to improve the quality of your meat.
Blood serves as a substrate that provides nutrients for bacterial growth, which facilitates meat degradation.
Moreover, the stress fish experience when caught can lead to lactic acid buildup, resulting in reduced fish quality. If blood and lactic acid are not drained from the fish system, you will notice a difference in favors.
The taste will be slightly more acidic and metallic. Furthermore, lactic acid lowers the pH level of the blood in veins, which leads to protein breakdown in the muscles and results in reduced fish quality. The following are the reasons why bleeding a fish is important:
- Bleeding the fish will result in increased meat quality and remove that ‘fishy’ stench. In addition, it also improves the texture and taste of the meat.
- Blood contains a compound that produces a metallic taste, and by removing it, you can enjoy a fresher flavor.
- As discussed above, blood provides nutrients for bacterial growth, which can lead to fish spoilage. Hence, bleeding a fish can extend its shelf life.
- Lastly, the best thing about bleeding the fish is that it makes the filleting process much more manageable and cleaner. You can cut the fish without making any bloody mess.
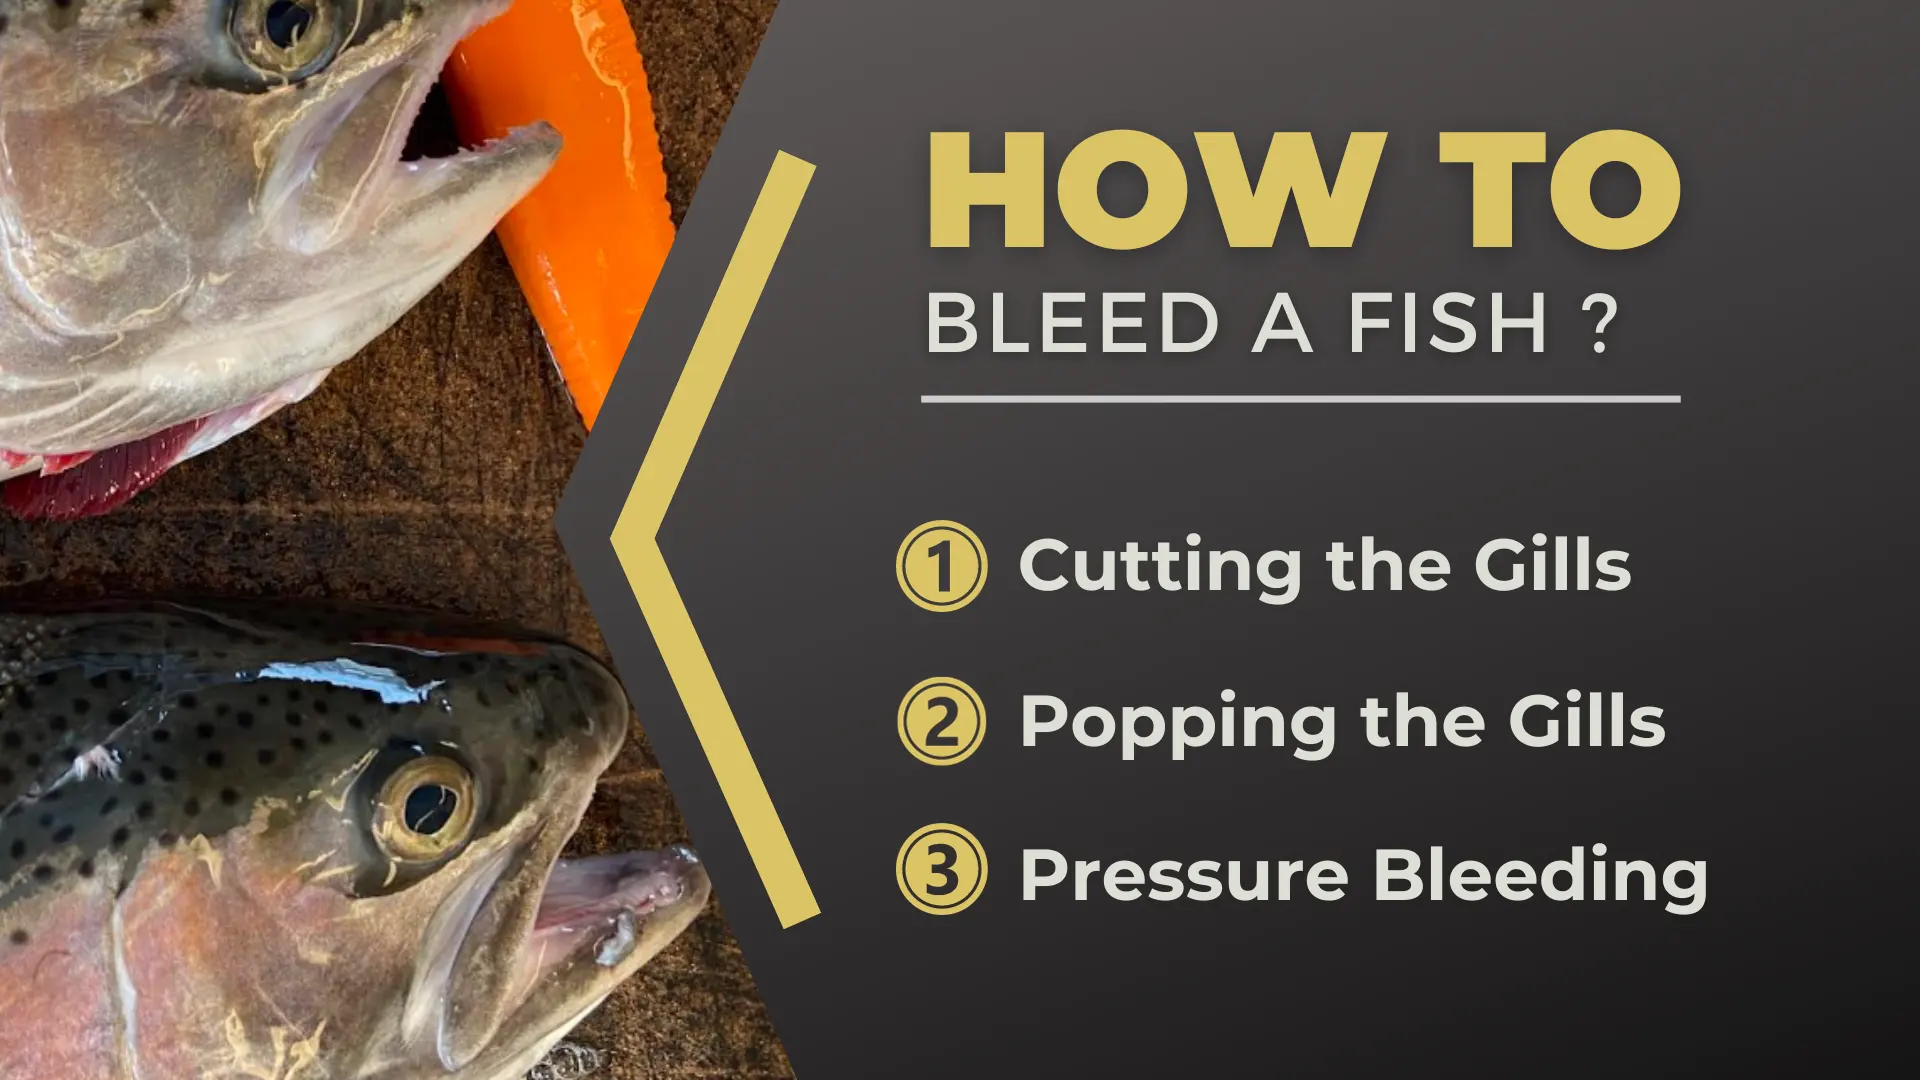
How to Bleed a Fish
You can use different methods to bleed a fish, depending on which method is easy and convenient for you. Before we dig into details, there are certain things you must do before the bleeding process. Clean your gear, including a knife, cutting board, gloves, and bucket, with a bleach water solution.
When you are done using these gear, promptly clean them to minimize bacterial growth. Always work in a clean environment. Now, let’s move to our main concern:
1. Cutting the Gills (Humanely Killing)
When it comes to “bleeding the fish as soon as possible,” you might hear mixed opinions regarding this point of view. Some believe it is better for the fish to tire out first, while others advocate bleeding the fish right after you catch it.
Important
Bleed the fish as soon as possible to stop lactic acid accumulation because it adds an unpleasant taste to fish meat.
Waiting for it to tire out or die will undoubtedly make it easier to control and make the bleeding process more manageable. However, the continuous struggle increases the chances of it getting damaged and the accumulation of lactic acid in the fish muscles. This lactic acid, as discussed above, will lead to an unpleasant fishy taste.
Step1: Identify the Fish’s Brain
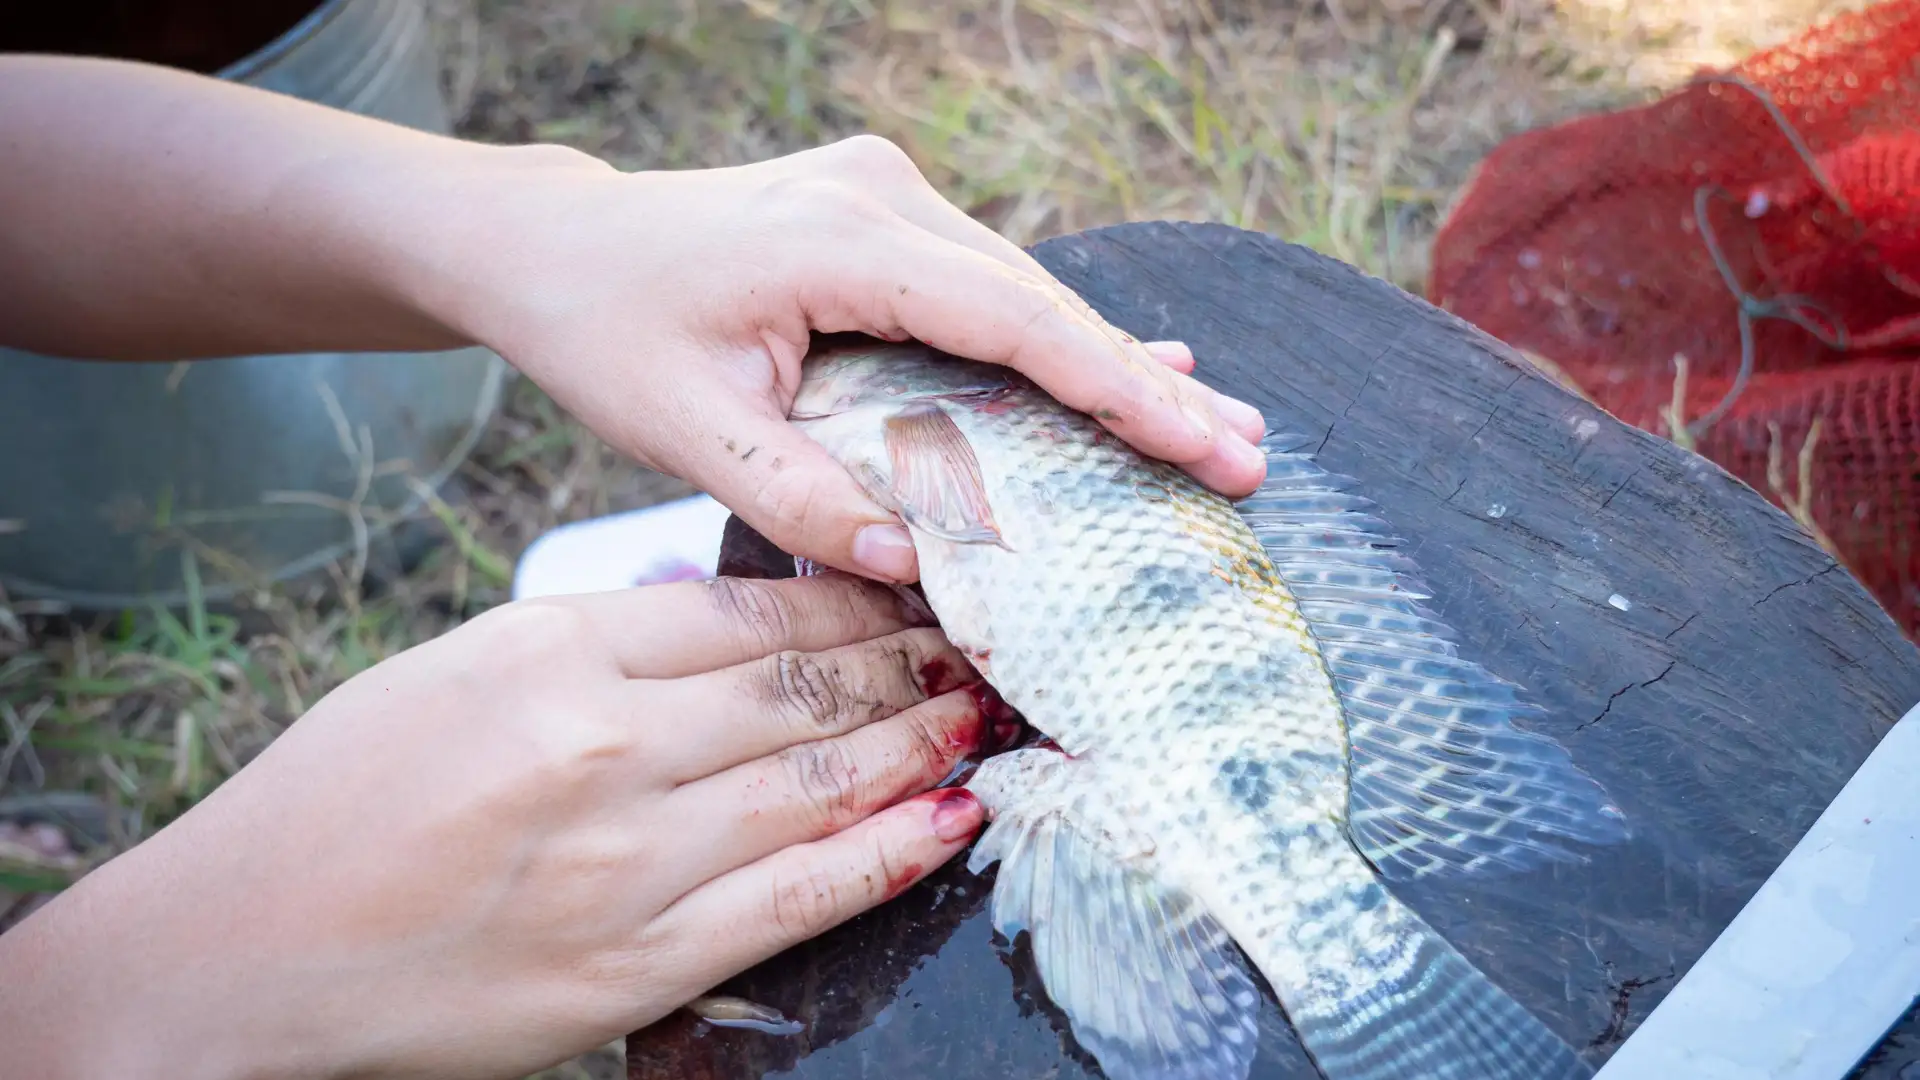
After catching your target, lay the fish on the cutting board. Make sure to use textured fish handling gloves, as they will help you firmly grasp the fish and protect your hands from any spikes.
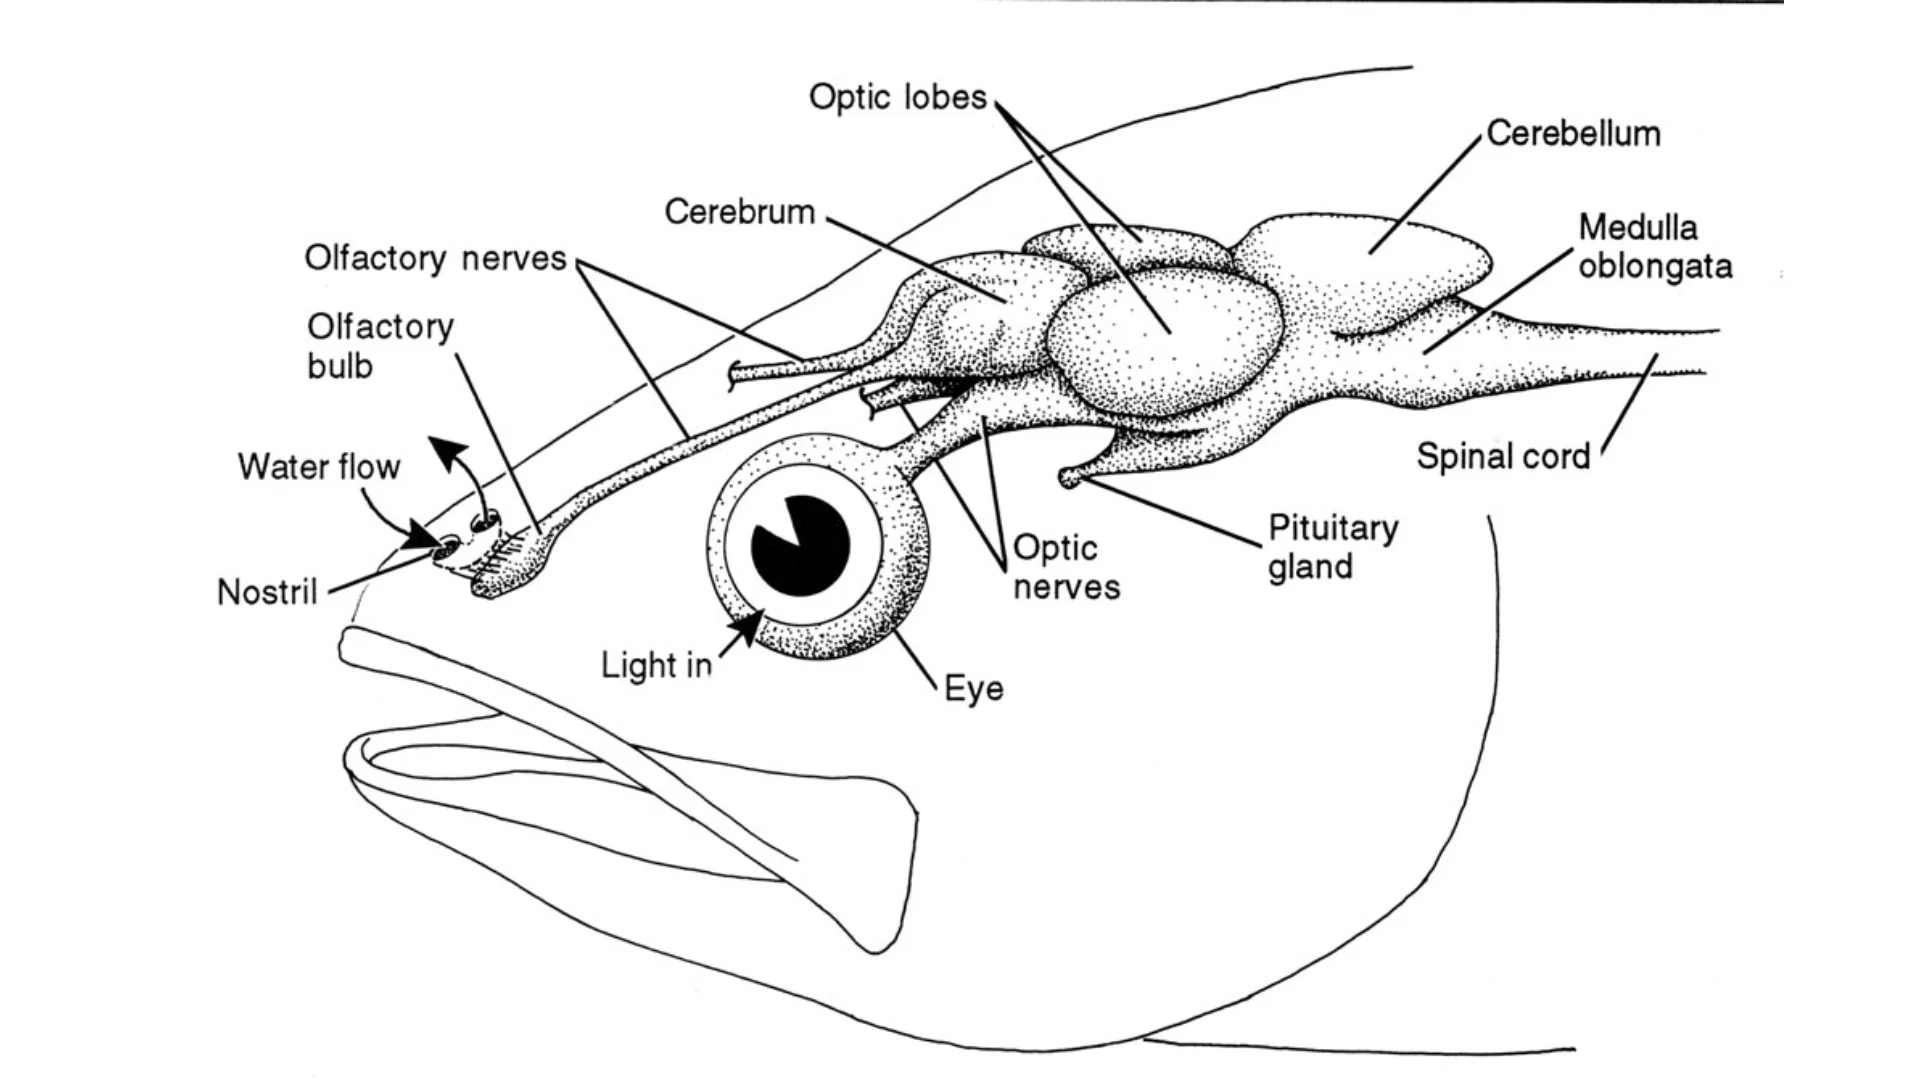
Hold down the fish with your non-dominant hand, and with your dominant hands, search for the soft spot directly behind the fish’s eye. This soft spot is where the fish’s brain is located.
Step 2: Pierce It’s Brain With a Knife
After locating the soft spot, take out your sharp knife. It is better to use a short-blade utility knife for better control compared to longer and wobbly Fishing Knives. Next, with the non-dominant hand, hold down the fish and align the sharp tip of the knife with the soft area behind its eye.
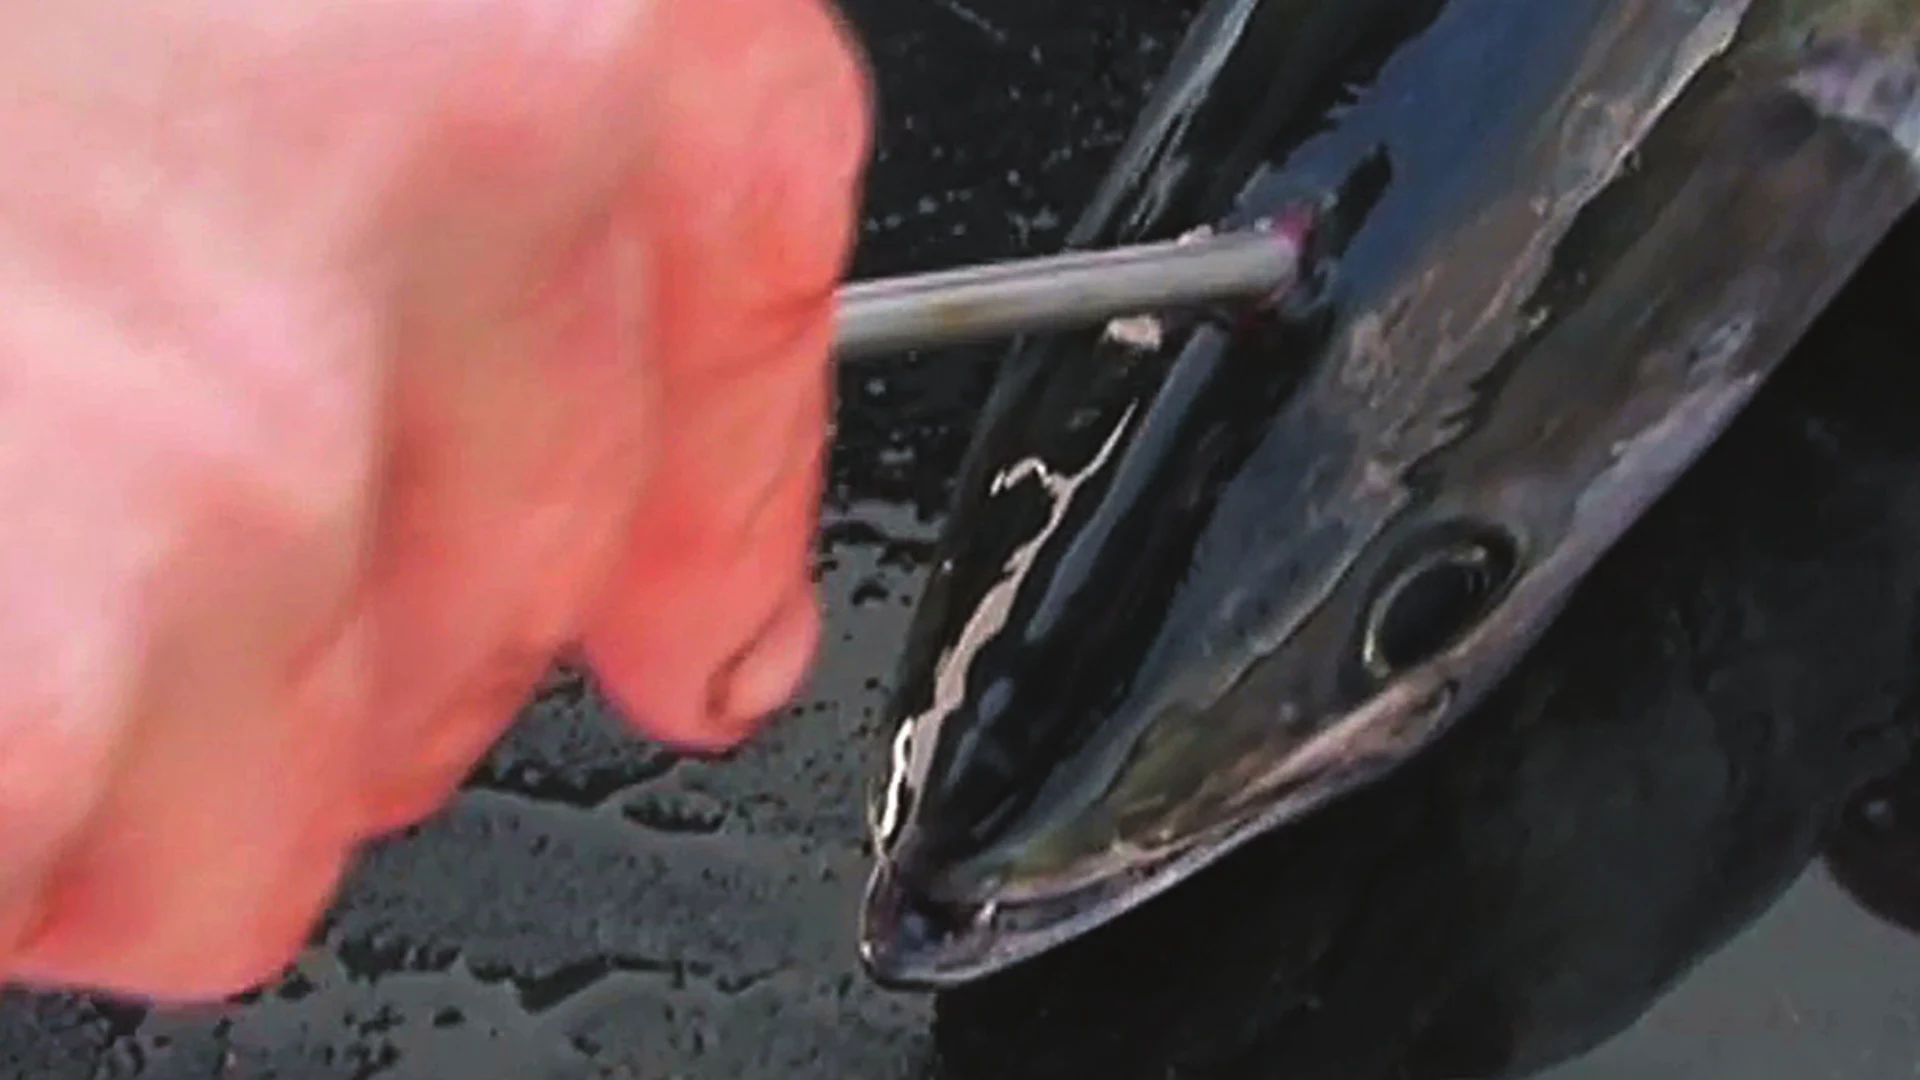
Now, insert the knife through the fish’s skin and apply pressure downwards into the brain to stun it. First, ensure that the fish stops moving’ however, if it is still twitching, you can repeat the same process by creating a new cut right next to the first one. Additionally, keep your fingers away from the knife to prevent any injury.
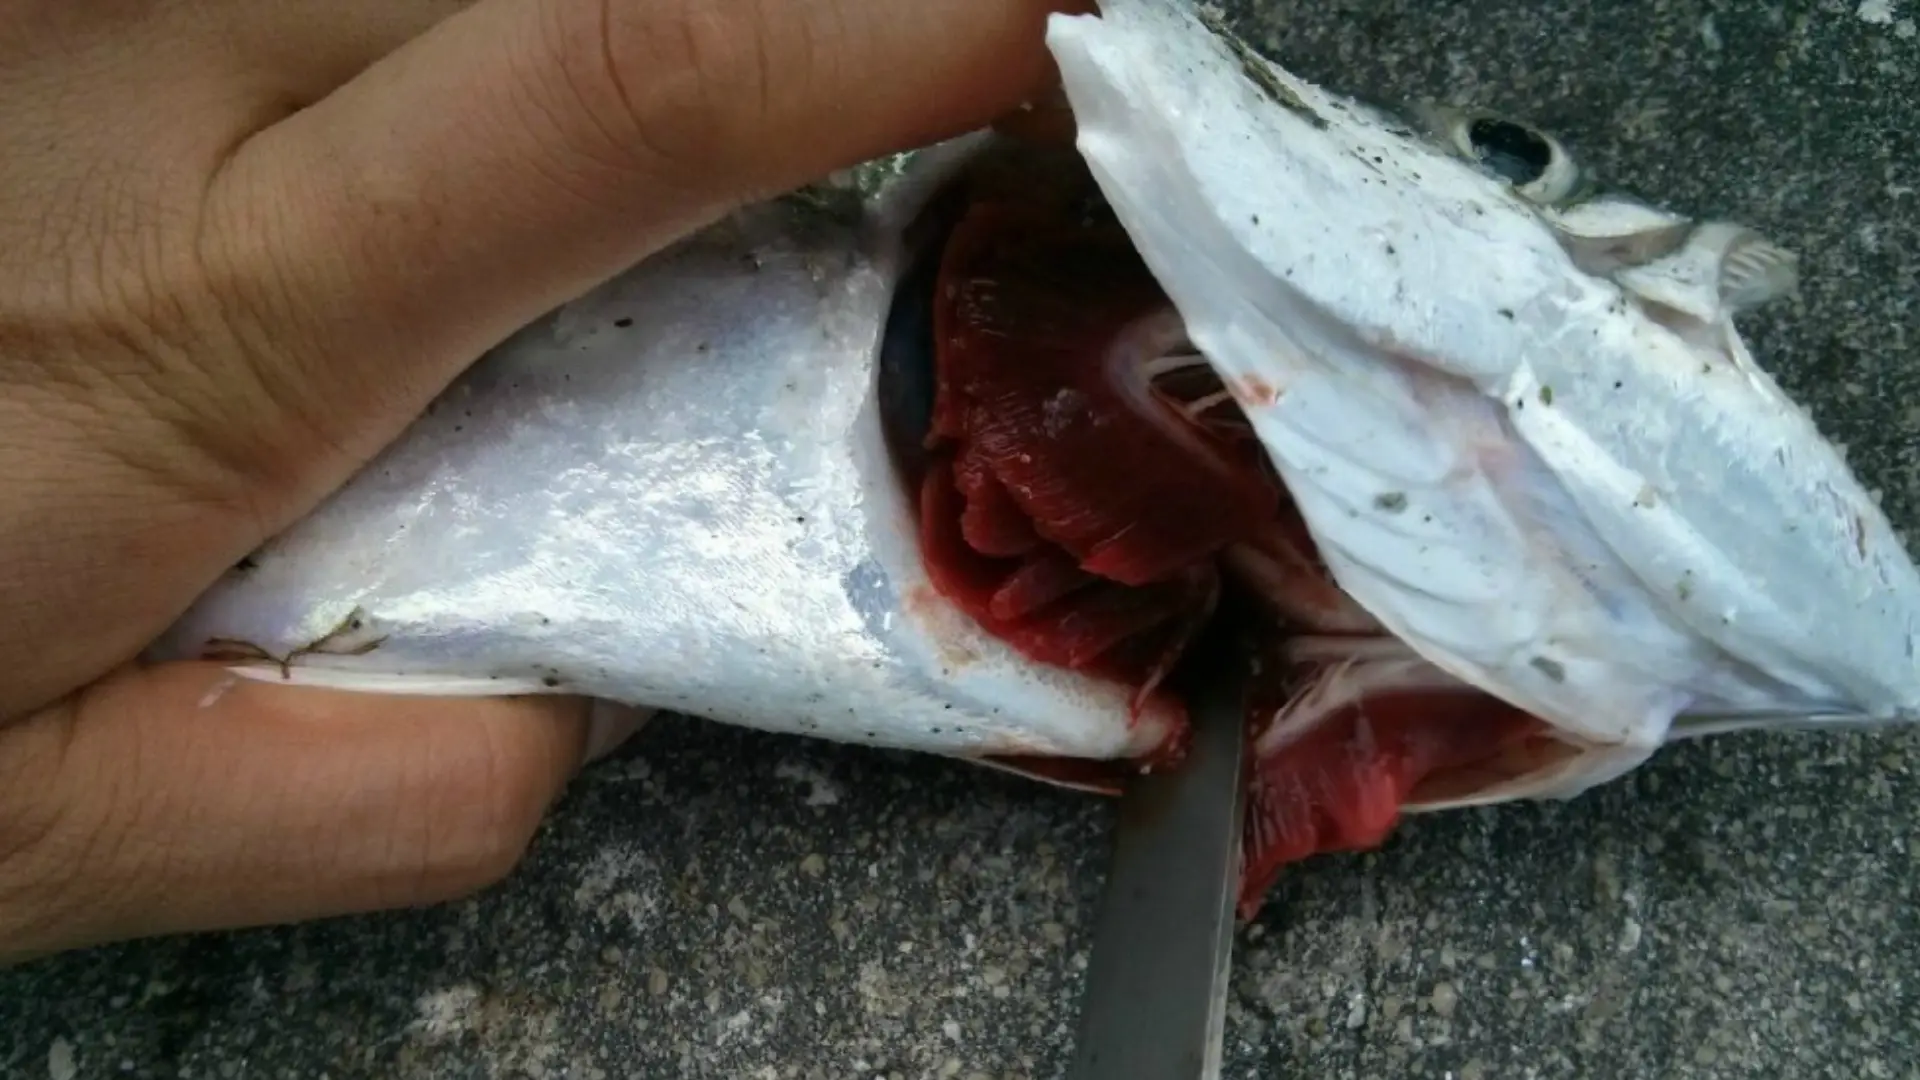
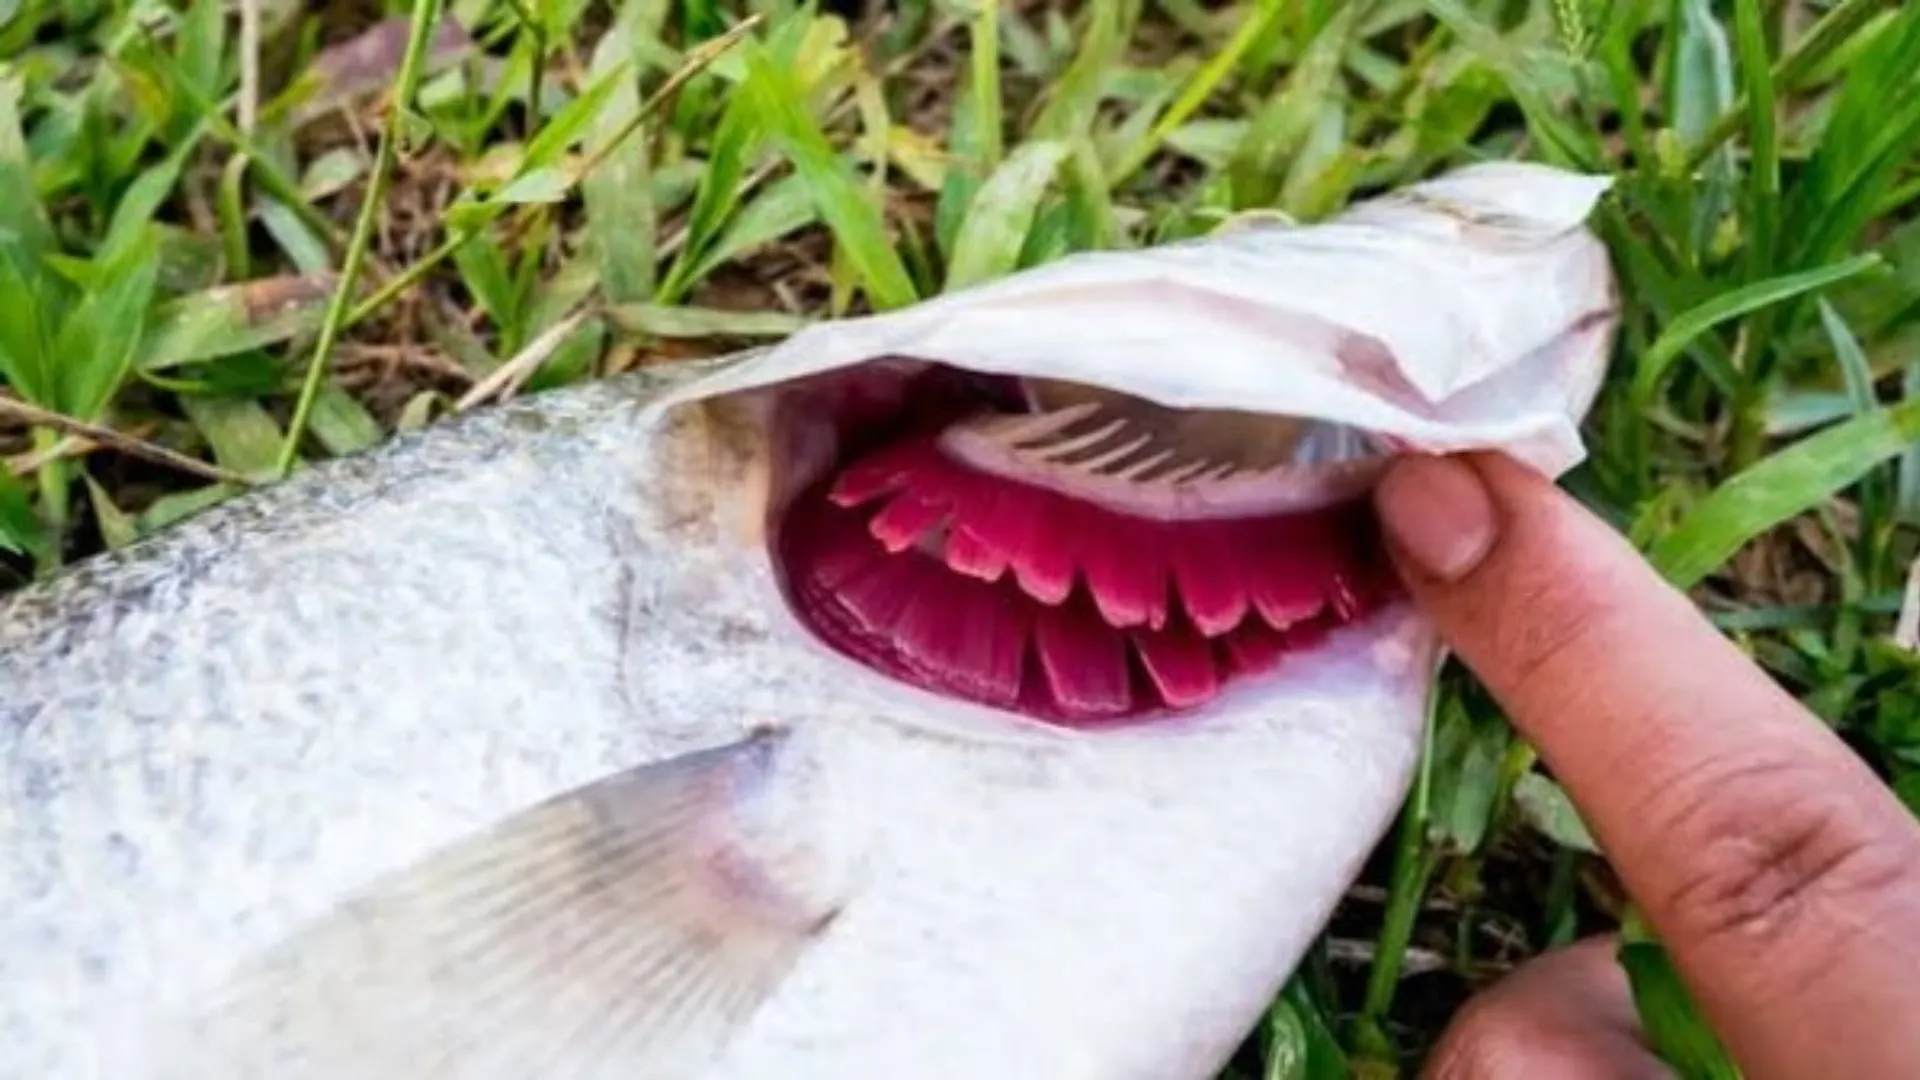
Step 3: Cut Behind Gills
For bleeding a fish, cutting behind the gills is the best way, as it allows you to cut the main artery and blood vessels. Take your knife and position it behind the gills, right behind the bony part. Continue to slice downwards until you reach the part where the gills come together, cutting through the tissue.
Afterward, repeat the process on the opposite set of gills to allow the fish to bleed out. The bleeding can be heavy; therefore, be cautious to prevent any spills. To prevent spilling, you can buy specialized fish-cleaning stations with raised edges.
Step 4: Soak Your Fish
Immediately after cutting the fish, get a bucket and fill it with cold water. Put your fish in the bucket to drain the blood for about 10-15 minutes. Some people prefer 30 minutes, while others suggest that fish can bleed out completely in 3 minutes.
If you do not have a bucket, you can keep the fish cold by covering it with ice. In addition, I will advise against putting your fish in either cool or warm water for a longer period.
This is because, without the ice, prolonged exposure can increase the risk of bacterial contamination in the fish. Keep in mind that the cool or warm water will not have the same effect as keeping the fish in the cold water.
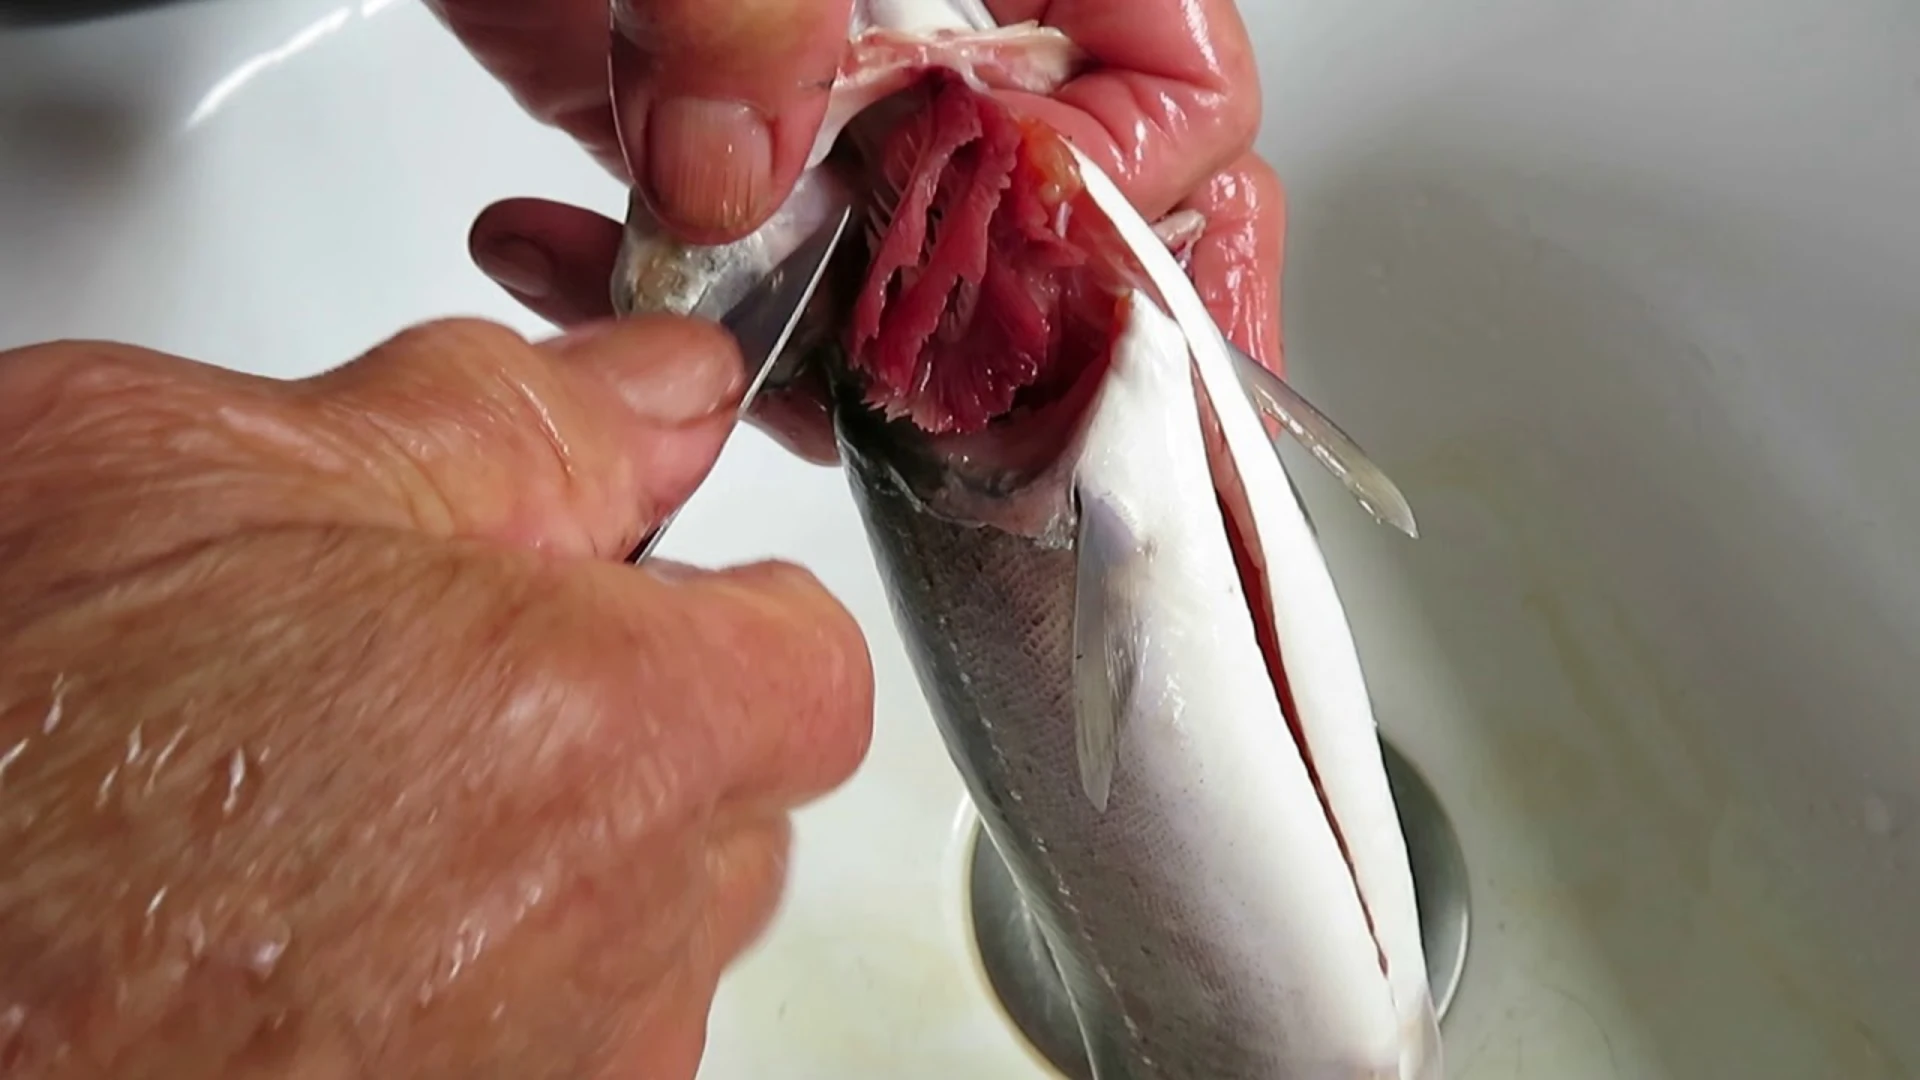
2. Popping the Gills
To carry out this method, you do not need any knives, but only your hands. When it comes to smaller fish species, many anglers often use their fingers to reach into the gills and snap them off. This method is known as “popping the gills”.
This method is best to facilitate bleeding in smaller fish, which can be less practical when using a knife. This method results in open ends of the gills, allowing blood to continue flowing out. I will advise you to use this method on smaller fish with a minimal amount of blood rather than on larger ones.
3. Pressure Bleeding
Step 1: Remove Fish Head
Place the fish on the cutting board and securely grasp it with your non-dominant hand. With your dominant hand, hold the pocket knife and position it directly behind the fish gills. Cut from the belly towards the spine.
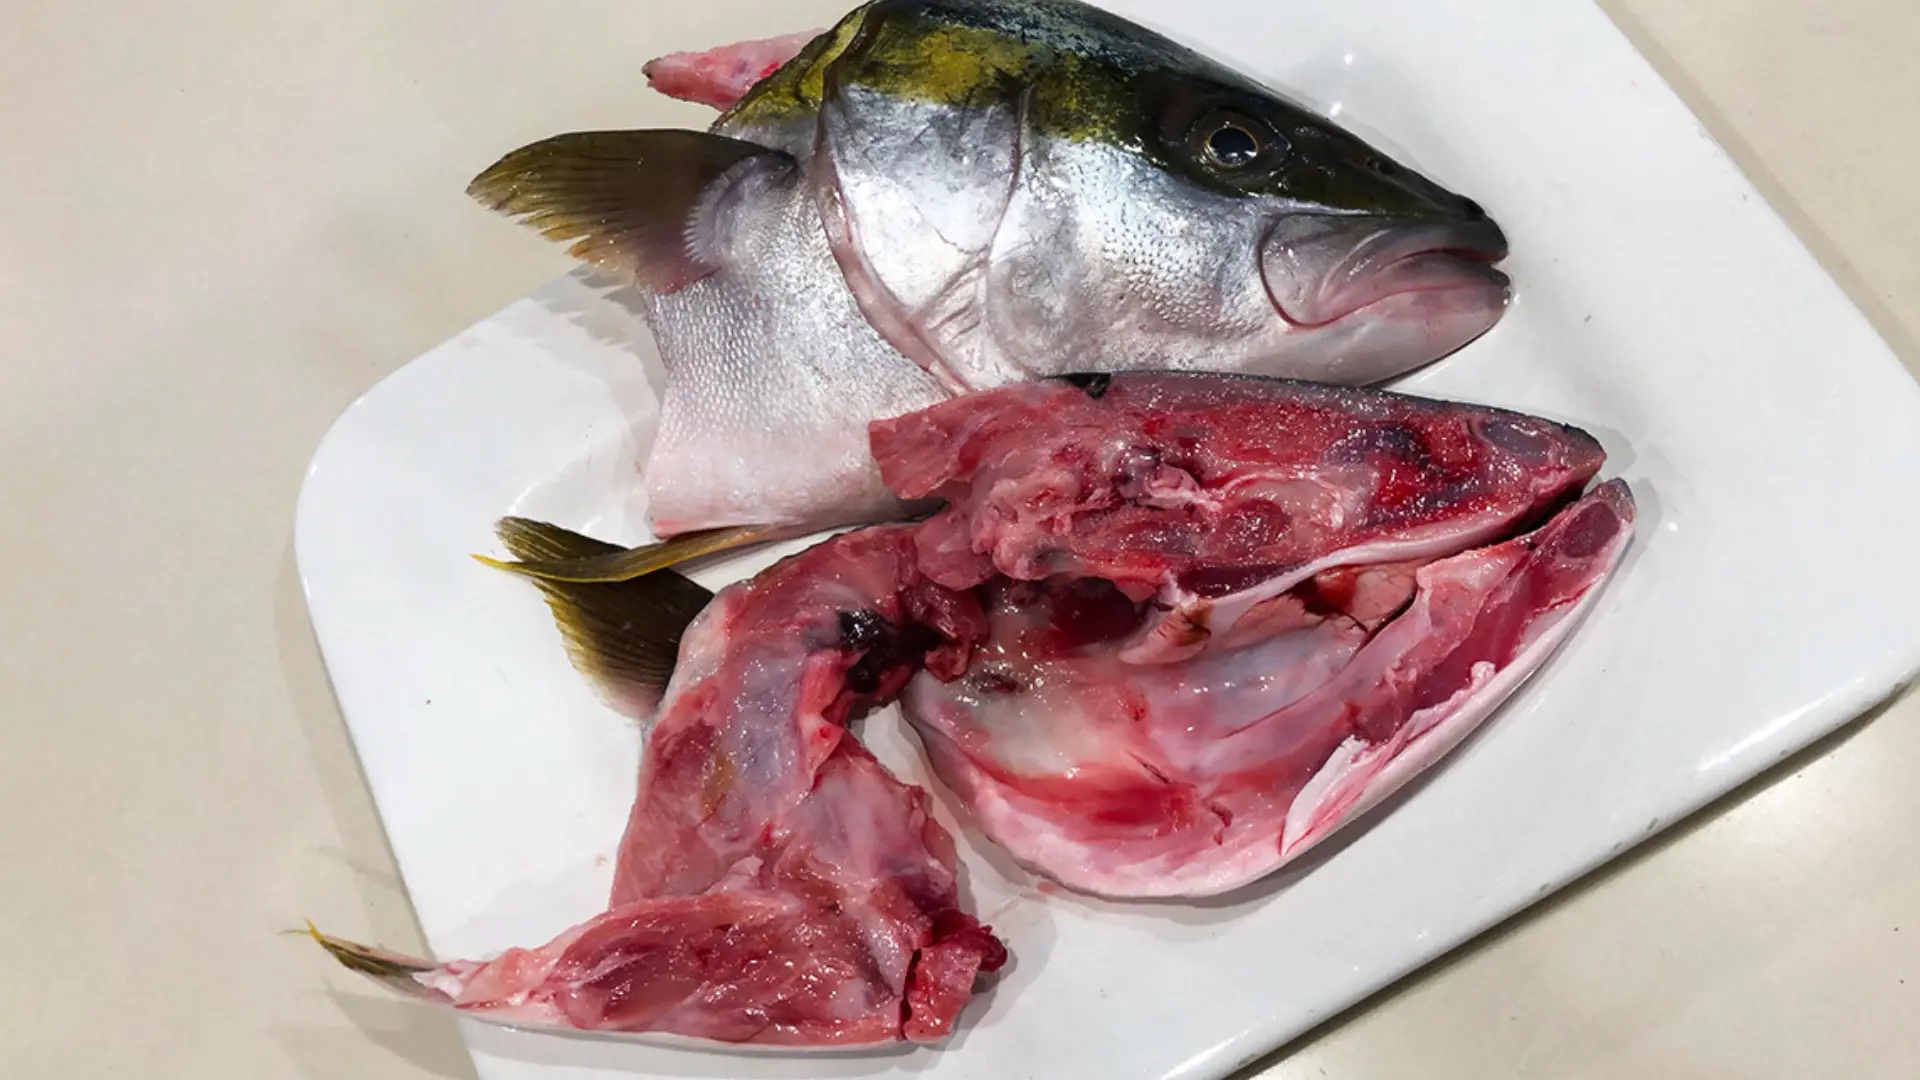
Repeat the same process on the other side of the fish to remove its head. The fish will immediately start bleeding; hence, take precautionary measures. You can do whatever you want with the fish head, either cook it or throw it.
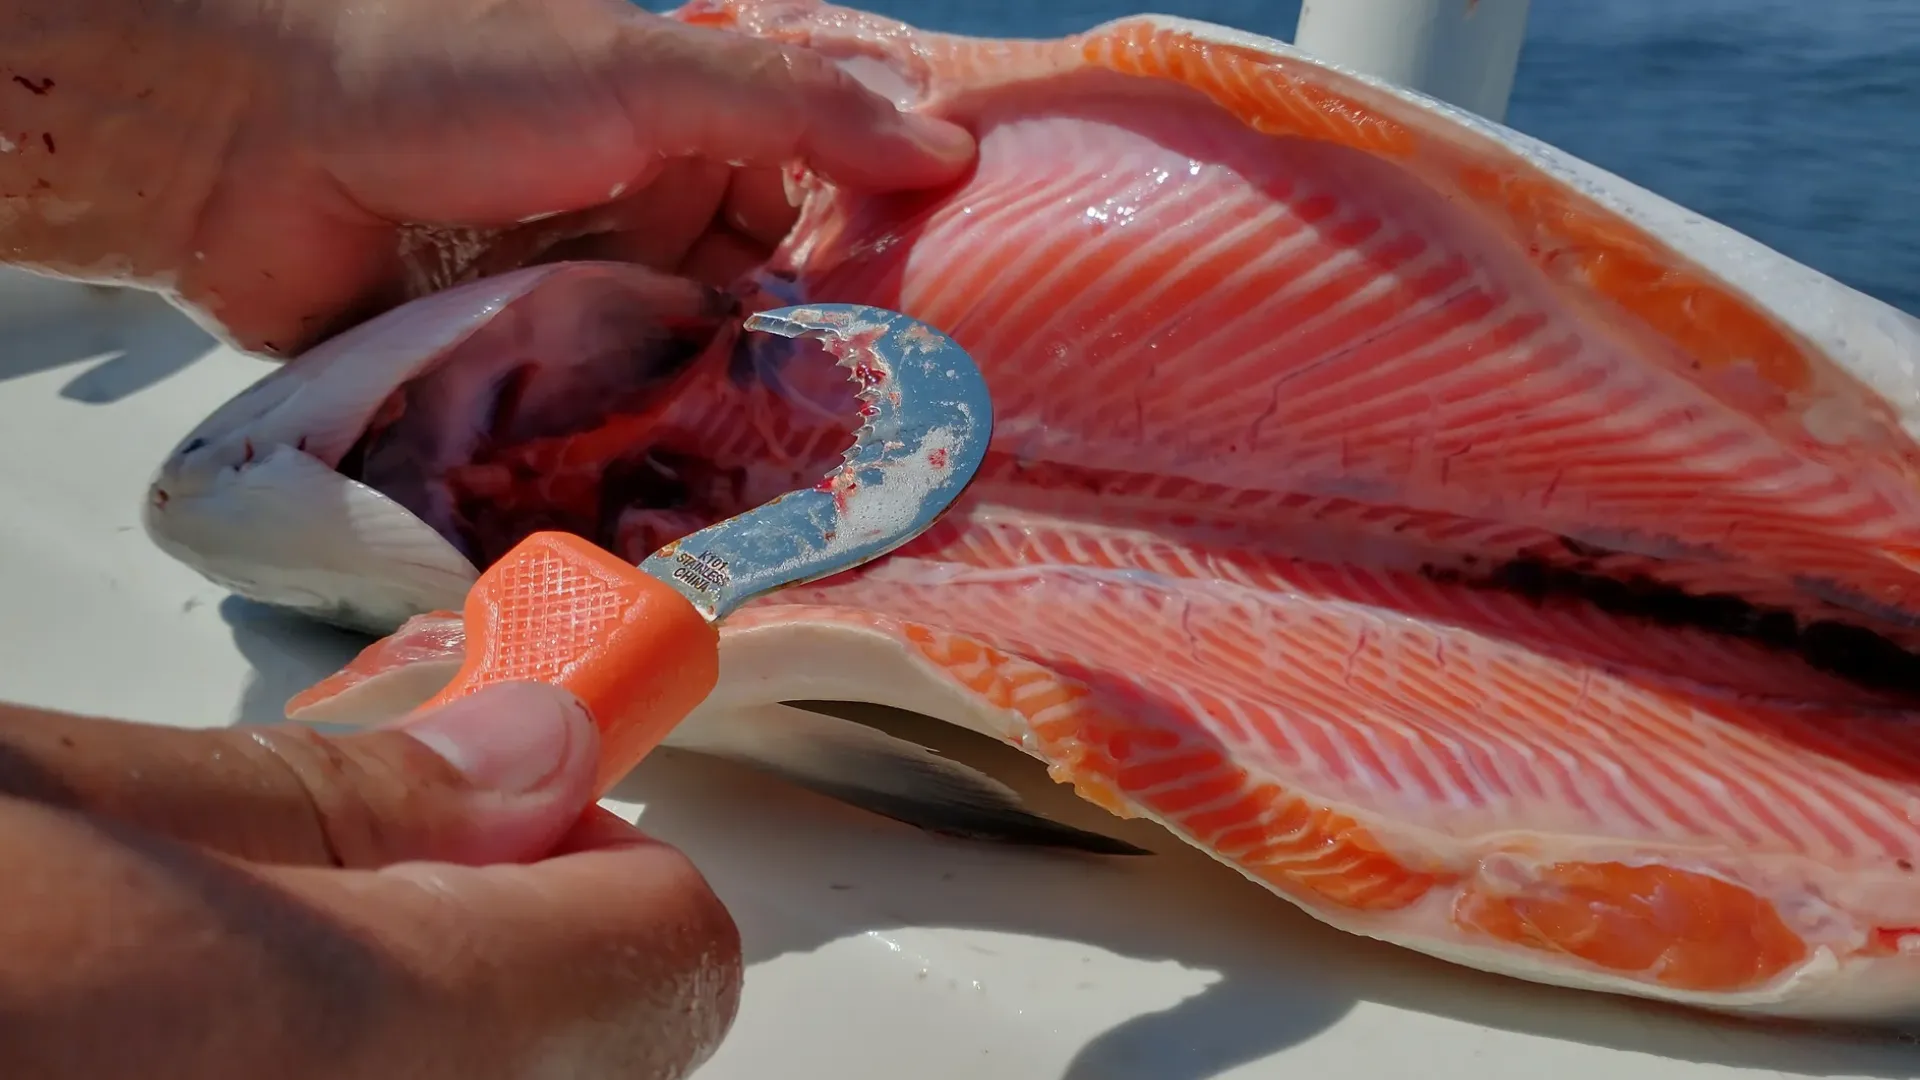
Step 2: Slit the Fish’s Belly
After cutting off the head, slit the fish’s stomach, starting from the base of the tail, and extend it towards its throat. This type of cut prepares the fish for cleaning and removing its organs. Next, separate the fish along the cut you created and remove its internal organs, either using your fingers or a spoon.
Now, look for the long brown or black strip, known as the bloodline, inside the fish, and use a spoon to remove it. You can throw the guts into the trash or feed them to animals.
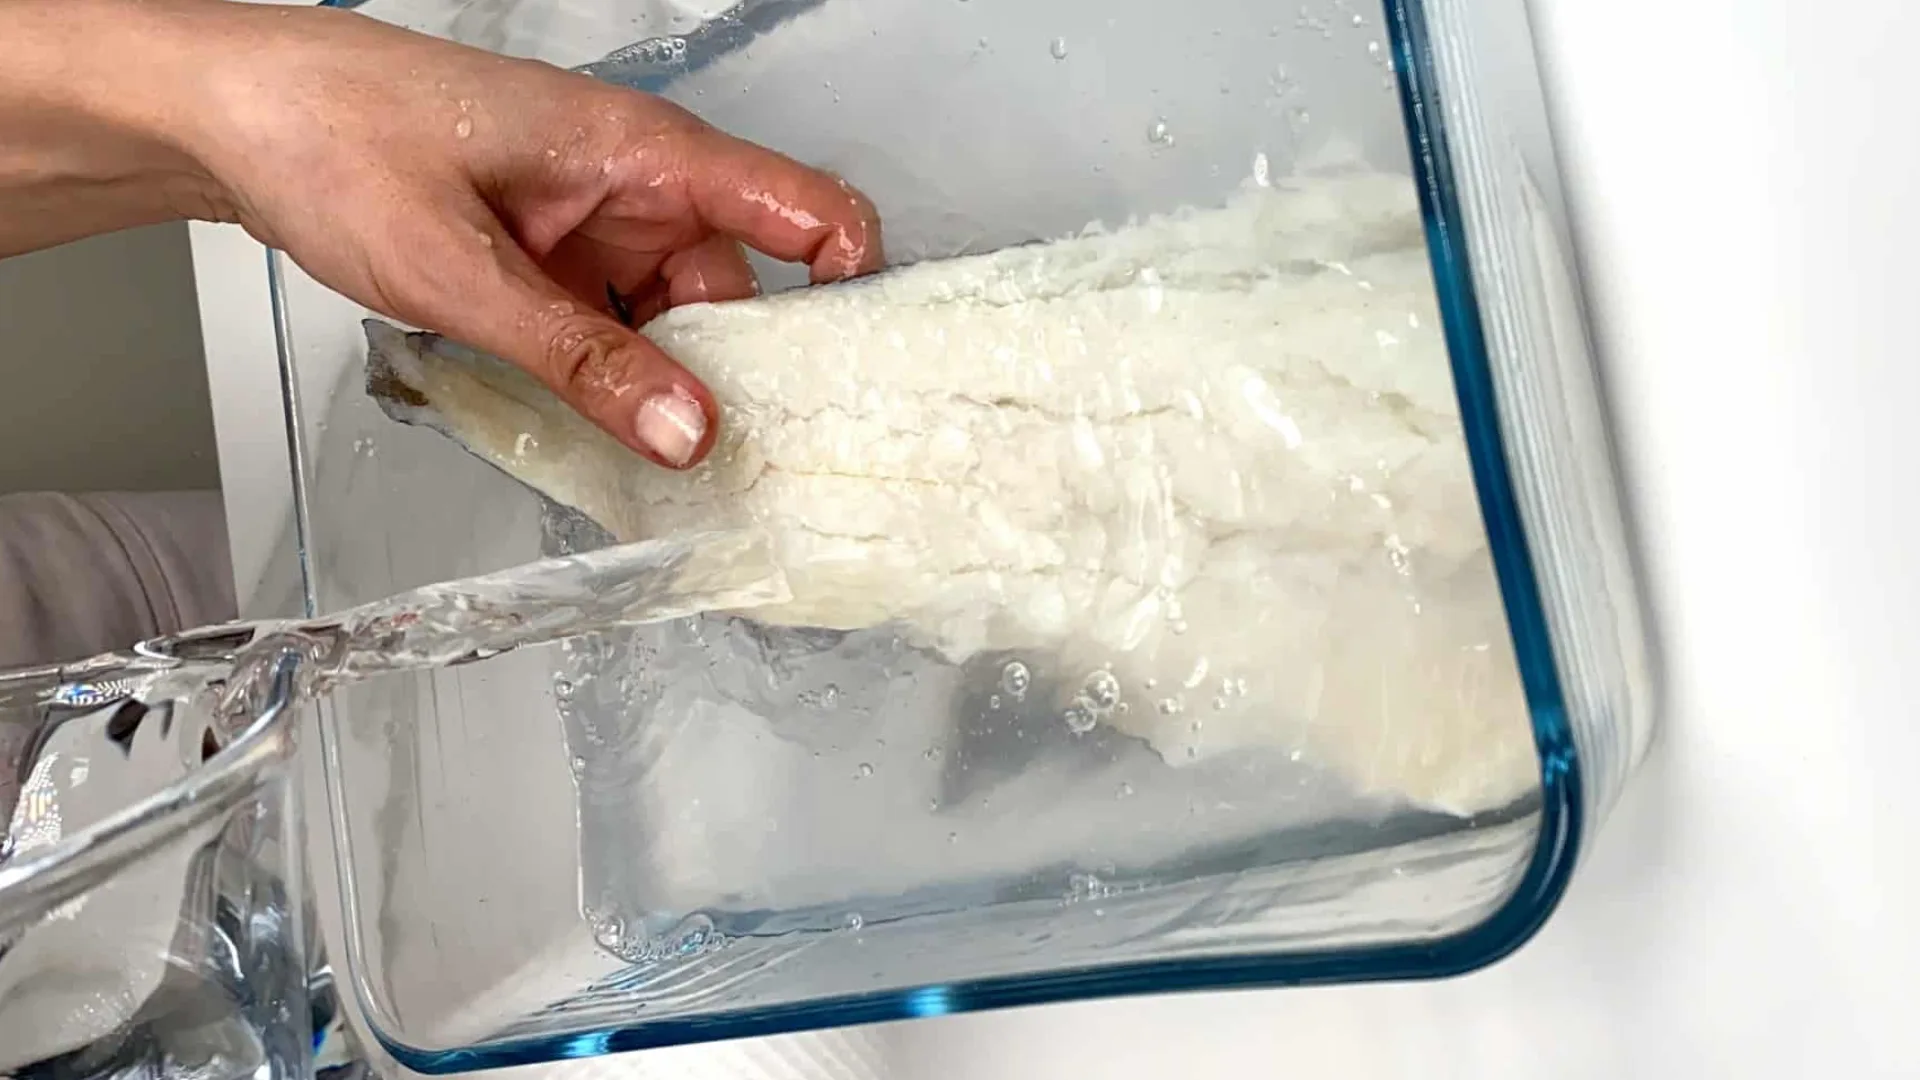
Step 3: Clean and store the Fish
Now, it is time for you to thoroughly clean the fish inside and out. If you have a hose lying around in your home, take it out to rinse the fish’s body, and make sure to use cold water.
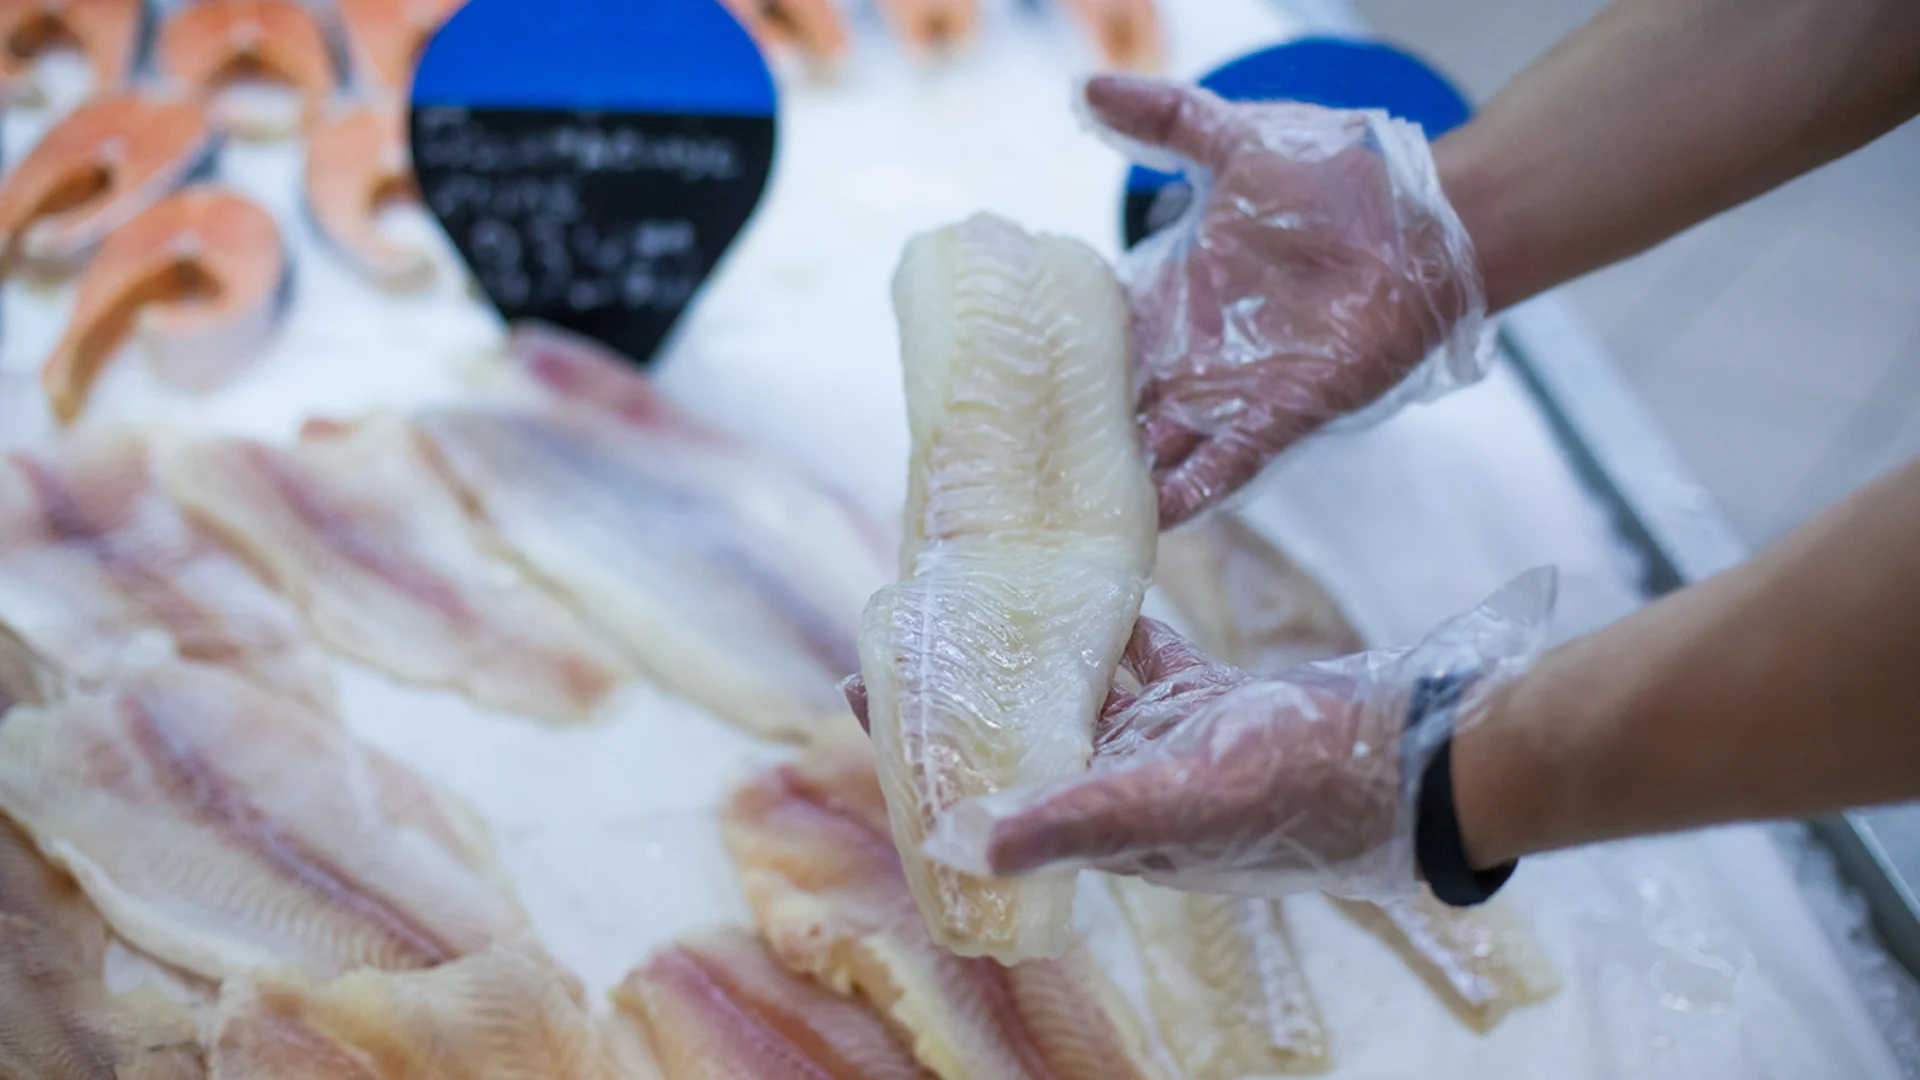
Rinse away any pooled blood and gently rub the fish’s body to remove any remaining blood. When the water turns clear, turn off the hose.
After thoroughly cleaning the fish, you can store it in the ice-filled container. If the fish fillets are properly preserved and frozen, you can store them for as long as eight months.
Concluding Statement
In conclusion, bleeding a fish is an easy and straightforward process that only takes a few minutes to complete. Bleeding is necessary if you want better meat quality and extended shelf life. Moreover, bleeding a fish also removes that fishy and metallic smell, leaving the fish with a fresh and appealing aroma.
You can carry out the bleeding process using different methods, including cutting behind the gills, popping the gills, or pressure bleeding. However, before beginning the process, make sure to thoroughly clean the gears to avoid any contaminations. In addition, if you want to preserve fish fillets for a longer period, store and freeze them in a proper manner.